Pico proto + Case A - for Pico or Pico-W
Board & Case for prototyping with Raspberry-Pi Pico / Pico Wireless
- Based on Pi A case (included)
- Breakout board for Pico or Pico-W
- Conn. Qwiic/StemmaQt
- Conn. Grove
- Version V2.0
Payments are secured by LyraCollect, a French payment collection company.
It is possible to delivered to your home, to a pick-up point or picked up by appointment at MCHobby
We prepare, pack and ship your orders with great respect and care.
Put your Pico/Pico-Wireless project into a nice case
One of the most missing item in the Pico area are the cases! How to gives a good look and feel to your Raspberry-Pi Pico project (or Pico Wireless) ? well... with a nice and stylish case.
What about STEM initiation when participant needs to go home with their Pico? Closing a case and place it into the bag would just be great!
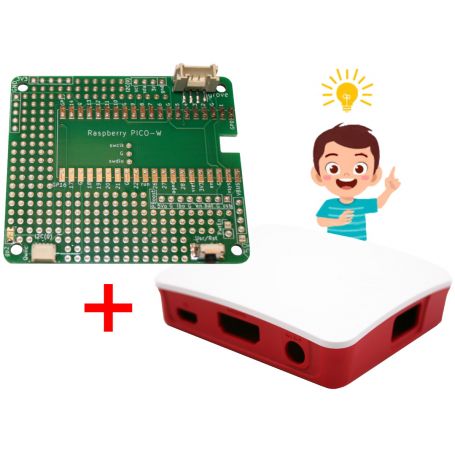
The breakout board is designed to take place into a Pi A case. The pico/Pico-W footprint is oriented with the MicroUSB connector faced to the USB A output of the case.
We do also add a user LED (GPIO 2) next to the case led output so light should be visible from outside the case.
A push button is place in front of the jack output of the case so it is easily accessible. The initial usage is a reset button but it can be reconfigured as user button on the GPIO 16 (see the solder jumper under the board).
The I2C(0) bus - sda=GPIO8, scl=GPIO9 - is available as breakout connector, grove connector and Qwiic/StemmaQt connector.
The Qwiic connector is placed face to the case microUSB output so it is possible to connect Qwiic/StemmaQt breakout/board from outside of the case.
The Grove & Qwiic/StemmaQt are supplied with 3.3V (but can be reconfigured for 5V thank to the solder jumper underneath the board.
The breakout board also have 3 power rails -- with 5 pads each -- for 3.3V, GND and 5V. Whatever is your project we do never have enough power connection (mostly ground ones).
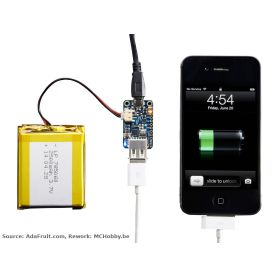
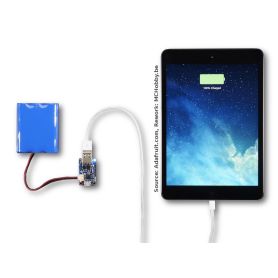
The projet can also going autonomous by using the dedicated connexion point to wire a PowerBoost charger 1000 (or equivalent or PowerBoost charger 500). The connection points are identical to the CanSat Pico project (who have a perfect documentation for that purpose). Please note the small PwrEn connector to deactivates the PowerBoost with simple switch.
All the remaining space is populated with prototyping area that can be used to secure project components & breakout together with the Pico.
Finally, the board is self-documenting. This means that the silkscreen shows all the useful information on the board. GPIOs are each labelled, Connectors point are each labelled, solder jumper are labelled with their possible options... everything is documented onto the board.
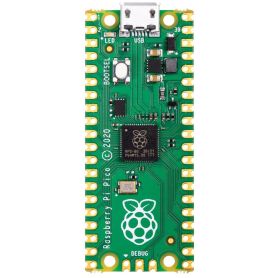
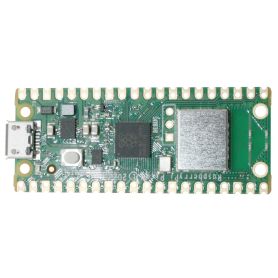
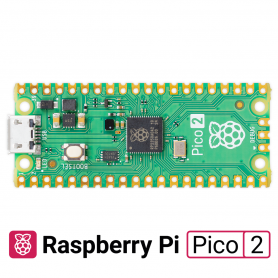
This product requires one Pico or one Pico-Wireless to work.
No microSD connector ?
The Pico Flash memory is large enough to keeps a file system (like MicroPython does). So you are able to perform data logging tasks without the need of external SD storage (and the difficulties it brings into the project).
Why using a Pi-A case ?
It offers the best price for the size, the quality, design and openings.
In the future, some other case could be used other cases to bring projects into case.
Tip and tricks
By using a machined female connector (round connector) together inserted into the Pico + board before soldering the Pico on the board.
Thanks to such connector you can use the connector with prototyping wire or insert expansion board on the top of the Pico ;-)
Content
For each order, you will receive the breakout board fully assembled + a Pi 4 Case.
This product requires a Pico or Pico-Wireless (not included) to work.
Lhe Pico (or Pico-Wireless), Qwiic/StemmaQt cable and BME680 breakout are not included but you can find then on our shop.
Technical details
- Pico can be soldered on the breakout board
- Breakout button (Reset or user, via the jack opening)
- Breakout with 1 LED (next to LED output in the case)
- Qwiick/StemmaQt connector (3V3 or 5V, accessible via the microUSB connector)
- Grove connector (3V3 or 5V)
- PowerBoost Charger breakout
- 3V3, GND, VBUS (5V) rails
- Prototyping area

