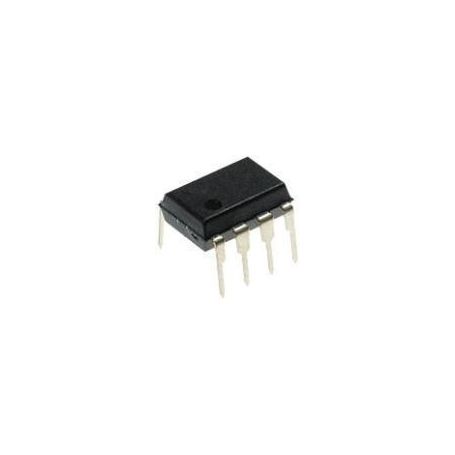
[T] - P82B715P - I2C Bus Extender
Allows to easily extend an I2C bus up to 25m (50m under condition)
Payments are secured by LyraCollect, a French payment collection company.
It is possible to delivered to your home, to a pick-up point or picked up by appointment at MCHobby
We prepare, pack and ship your orders with great respect and care.
Extend the I2C bus using a current amplifier
If you have used I2C components before, you know how efficient and easy to use this technology is. An I2C bus is literally "magic" on an Arduino or Raspberry Pi.
The problem with an I2C Bus is that it cannot really be longer than one meter !!!
Fortunately, there are the P82B715PN which allow you to extend the bus over an astronomical distance of 25m (and more under conditions). Its use is really simple :-)
We tested it successfully with two Arduinos (in Master Write), powered at 5V and a long twisted cable (UTP5 network cable, it is preferable).
How does it work?
Generally, the SDA and SLC pins of an I2C bus can debit a current of the order of 1mA. This is what limits the transmission distance. The Extender Bus amplifies this current up to 10mA ... which increases the range of the signal.
Which cable to use?
It's best to use a twisted pair for SLA and SLC. If possible in a armored cable (to avoid interference). This type of inexpensive cable is sold in many stores. This is the case for the telephone connection cable (the one used by the installers) or the simple network cable (Category UTP5).
How many P82B715PN?
At least 2: 1 for your microcontroller and 1 for your I2C device.
A P82B715PN is required per connection point on the I2C Bus (you absolutely need a P82B715PN between each I2C device and your "boosted I2C bus").
Technical details
- Bidirectional, dual (for both SLC and SDA signals).
- Uses a single supply voltage (unit of supply voltage).
- Compatible with I2C buses (and its SMBusn PMBus, DDC, etc. derivatives).
- The voltage of the logic input signal is out without modification and is independent of Vcc (see technical sheet)
- Transformation of impedance x10, but doesn't modify the voltage of the logic signals.
- Supply voltage between 3v and 12v
- Clock speed of at least 100 kHz (and 400 kHz when the other system tolerates delays).
See also the data sheet
Tutorial
- Our French tutorial for Arduino (also suitable for Raspberry Pi).


