Raspberry Pi Camera Cable Extension via HDMI
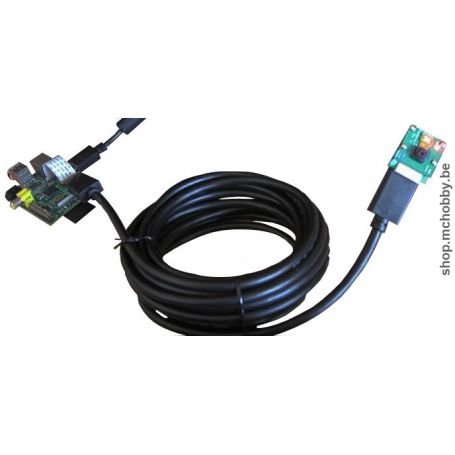
Use HDMI cable to extend the Pi Camera ribbon over a long distance
- 2x Camera Pi <--> HDMI conversion board
- Conversion between CSI standard <--> HDMI standard
- 5m (tested), 10m (theorical)
Payments are secured by LyraCollect, a French payment collection company.
It is possible to delivered to your home, to a pick-up point or picked up by appointment at MCHobby
We prepare, pack and ship your orders with great respect and care.
A set of connectors to extend the Raspberry Pi camera cable
This kit can be used transport the Pi Camera signal through a standard HDMI cable. So, it take place between the Pi and its camera and allows you to have the camera at a larger distance than with camera ribbon.
The biggest advantages is the increase of range, the possibility to use widely available cables, and to use a round and sturdy HDMI cable instead of a flat ribbon. Note that this is just an extension between the camera and the Raspberry Pi.
Four additional pins are available, this may become handy to use a few sensors with low current requirement along with your camera.
With this set, you can use longer and stronger cable between the Pi and the camera, which allows to place the camera outside the house and/or close to machinery. Comparing the diagram of the Pi Camera connector and HDMI connector we see that the ribbon habe four data buses made by pairs with a ground shield and this can be transposed to a HDMI cable (which is also designed to transport digital data at very high rate)!
Tested with a simple and cheap 5 meter HDMI cables, this solution works pretty well. The video signal doesn't show any degradation until a certain distance (passed the limit the video signal will be lost entirely).
Please note that this board has not been tested with HDMI boosters or HDMI-to-CAT6 conversion.
Works with all Raspberry Pi models
The HDMI shield is used to transport the ground along the HDMI cable. If after plugging the camera with this kit the Pi does not detect it, you may have bought an HDMI cable without data shield. Please read the following blog post that explains an easy fix.
A case for 3D printing (not sold with the kit) is also available on thingiverse. The files can be downloaded on Thingiverse. Please post modifications you made.
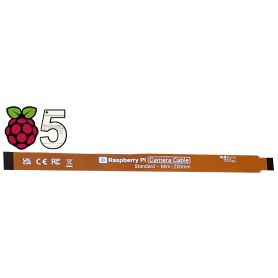
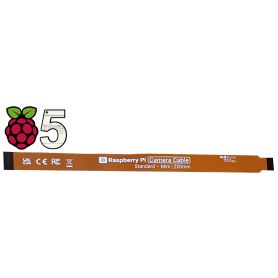
If you have a Raspberry-Pi 5: you will have to connect the RPi 5 CSI ribbon to this expansion cable.
Content
For each order, you will receive 2 connectors board, spacers, screws and 2 adaptater ribbon.
The Pi, Camera, HDMI cable are not included (used for demonstration purpose)
How to assemble
The parts in the kit are shown in the second picture. The assembly is simple but require precision to place and tighten the small M2 screws.
First assemble and lock the 60mm flat cable between the camera and board. Watch carefully the picture for the side of the ribbon, the connectors must be face up. Then put the boards back to back, the ribbon should form a "S" shape. Finally you can put the screws and spacers.


